
The Fire
/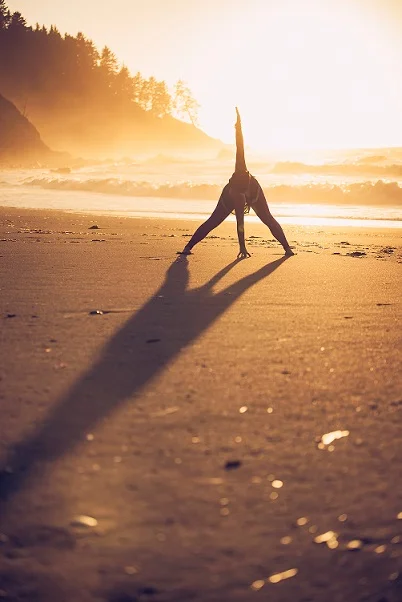
Some people fear the fire.
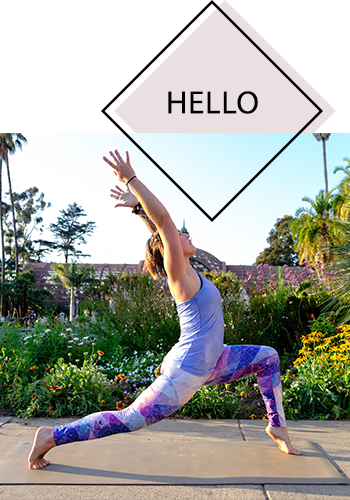
Read MoreSlow down to notice the beauty of this moment.
Read MoreResources for new yoga teachers.
Read MoreYoga poses for processing stress and anger out of your body.
Read More
Half the battle in headstand is overcoming fear.
What stories do you tell yourself about what you're capable of? How true are they?
I remember when I first started practicing headstand, I felt scared and hesitant. I'd try walking my hips up over my head but then back off and take child's pose. I'd watch other people in the room. In my mind, I was telling myself,
I'm weak, I can't do this, my neck isn't strong enough.
Eventually I realized that story is false. It was wrapped up in experiences I've seen other people go through-- family and friends with back and neck issues.
The reality is that I have a strong back and strong neck. A healthy spine.
I was telling myself an untrue story, rather than being present to the moment. All I needed was an open mind and to practice the balance.
Many headstands later, I now enjoy this pose.
If you're feeling stuck with an inversion (or any pose, really), try questioning your fear. Release it. Become incredibly receptive to this moment.

The headstand pose (Sirsasana) is often called the “king of asanas” for good reason. This empowering inversion builds strength, boosts circulation, and sharpens focus. Yet for many yogis, it’s also one of the most intimidating poses to learn.
Whether you’re just starting your journey into inversions or looking to refine your technique, this guide will walk you through the essentials of headstand pose. From preparation and alignment to overcoming common fears, these tips will help you build a safe, confident, and enjoyable headstand practice.
Before attempting headstand, it’s crucial to develop strength and stability in the muscles that support your inversion. Focus on your core, shoulders, and upper back, as these areas will carry much of your weight in the pose.
Dolphin Pose: This strengthens the shoulders and prepares your arms for weight-bearing.
Plank Pose: Builds overall core stability, which is essential for balance.
Forearm Plank: A variation of plank that specifically targets the muscles needed for headstand.
Boat Pose: Engages the deep core muscles and improves balance.
Incorporate these prep poses into your regular practice to build endurance.
Focus on proper alignment in each pose to avoid overusing certain muscles.
Don’t rush! Building strength over time ensures you’ll approach headstand safely.
Setting up correctly is half the battle when it comes to headstand. A strong, stable base will support your body and reduce the risk of injury.
Start in a Kneeling Position: Kneel on your mat and interlace your fingers to create a tripod base for your head and forearms.
Place Your Head on the Mat: Rest the crown of your head lightly on the mat, with the back of your head cradled in your hands.
Engage Your Shoulders: Press your forearms firmly into the mat and lift your shoulders away from your ears to avoid collapsing into your neck.
Lift Your Hips: Straighten your legs and walk your feet toward your head, bringing your hips over your shoulders.
Keep your elbows shoulder-width apart; don’t let them flare out.
Distribute weight evenly between your head and forearms.
Engage your core to maintain stability as you lift your legs.
One of the most challenging parts of headstand is lifting your legs off the ground in a controlled manner. Practicing leg lifts will help you build the necessary core strength and body awareness.
Tuck Position: Start by lifting one leg at a time, then both knees into your chest. This reduces the lever effect and makes balancing easier.
Straight-Leg Lift: Gradually practice lifting both legs straight into the air. This requires more strength and control but improves alignment.
Wall Support: Practice near a wall for extra stability as you gain confidence.
Move slowly and with control to prevent kicking up, which can throw off your balance.
Focus on engaging your lower belly to lift your legs smoothly.
Use the wall as a guide but aim to rely on your own strength over time.
Headstand is a challenging pose, and even experienced yogis can fall into bad habits. Here are some common mistakes and how to fix them:
The Fix: Actively press into your forearms to lift your shoulders away from your ears. This protects your cervical spine and distributes weight more evenly.
The Fix: Engage your core and tuck your tailbone slightly to maintain a neutral spine. Think of stacking your hips over your shoulders and your shoulders over your head.
The Fix: Use the wall as a training tool but don’t become dependent. Gradually move away from the wall as you build strength and confidence.
The Fix: Inversions can feel intense, but steady breathing helps you stay calm and focused. Practice slow, deep breaths throughout the pose.
Balancing in headstand requires a mix of physical strength, alignment, and mental focus. Once you’re comfortable lifting your legs, the next step is learning how to maintain stability.
Engage Your Core: A strong core is the key to holding your balance in any inversion. Think of drawing your navel toward your spine.
Fix Your Gaze: Choose a point on the floor to focus on and keep your eyes steady.
Micro-Adjust: Subtle shifts in your weight can help you stay balanced. Use your fingers and forearms to make small corrections.
Imagine your body as a straight line from your head to your toes. Visualizing this alignment can help you find and maintain balance more easily.
Safety should always come first when practicing inversions. Headstand can put pressure on your neck and spine, so it’s important to approach the pose mindfully.
Warm Up Thoroughly: Never attempt headstand without properly warming up your shoulders, neck, and core.
Avoid Overloading Your Neck: If you feel any pain or discomfort in your neck, come out of the pose immediately.
Use Props: A folded blanket under your head or forearms can provide extra support and cushioning.
If you have a neck injury, high blood pressure, or any other medical condition that might be aggravated by inversions, consult your doctor or yoga teacher first.
Headstand is a pose that takes time to master. Celebrate small victories along the way, whether it’s holding the pose for a few seconds or lifting one leg off the ground.
Set realistic goals for your practice, such as holding headstand for five breaths.
Practice consistently, but don’t overdo it. A few minutes of focused practice each day is better than long sessions that tire you out.
Document your progress with photos or journal entries to track your growth.
Mastering headstand isn’t just about physical strength—it’s also about mental resilience. Fear of falling is one of the biggest barriers to learning inversions, but with the right mindset, you can overcome it.
Practice near a wall for added security as you build confidence.
Use props like a bolster or pillows to create a soft landing zone.
Remind yourself that falling is part of the process—and it’s how you learn.
Embrace the journey instead of fixating on the end result.
Celebrate small milestones, like holding the pose for a few seconds longer than before.
Trust that consistent effort will lead to improvement over time.
Inversions like headstand can be intense, so it’s important to balance your practice with restorative poses that release tension in your neck and shoulders.
Child’s Pose: A gentle stretch for the neck and shoulders.
Seated Neck Stretches: Relieves tightness in the cervical spine.
Reclining Bound Angle Pose: Opens the chest and promotes relaxation.
If you’re struggling with headstand, don’t hesitate to ask for help. A knowledgeable yoga teacher can provide personalized feedback, hands-on adjustments, and encouragement.
Prevents bad habits that could lead to injury.
Helps you understand the finer points of alignment.
Boosts your confidence with tailored advice.
Headstand is more than just a yoga pose—it’s a practice in patience, courage, and self-discovery. Whether you’re learning to lift your legs for the first time or refining your balance, remember that every step of the journey is worth celebrating.
Approach headstand with curiosity and a sense of playfulness. With consistent practice and the tips outlined here, you’ll not only master the pose but also build strength and confidence that will serve you on and off the mat.
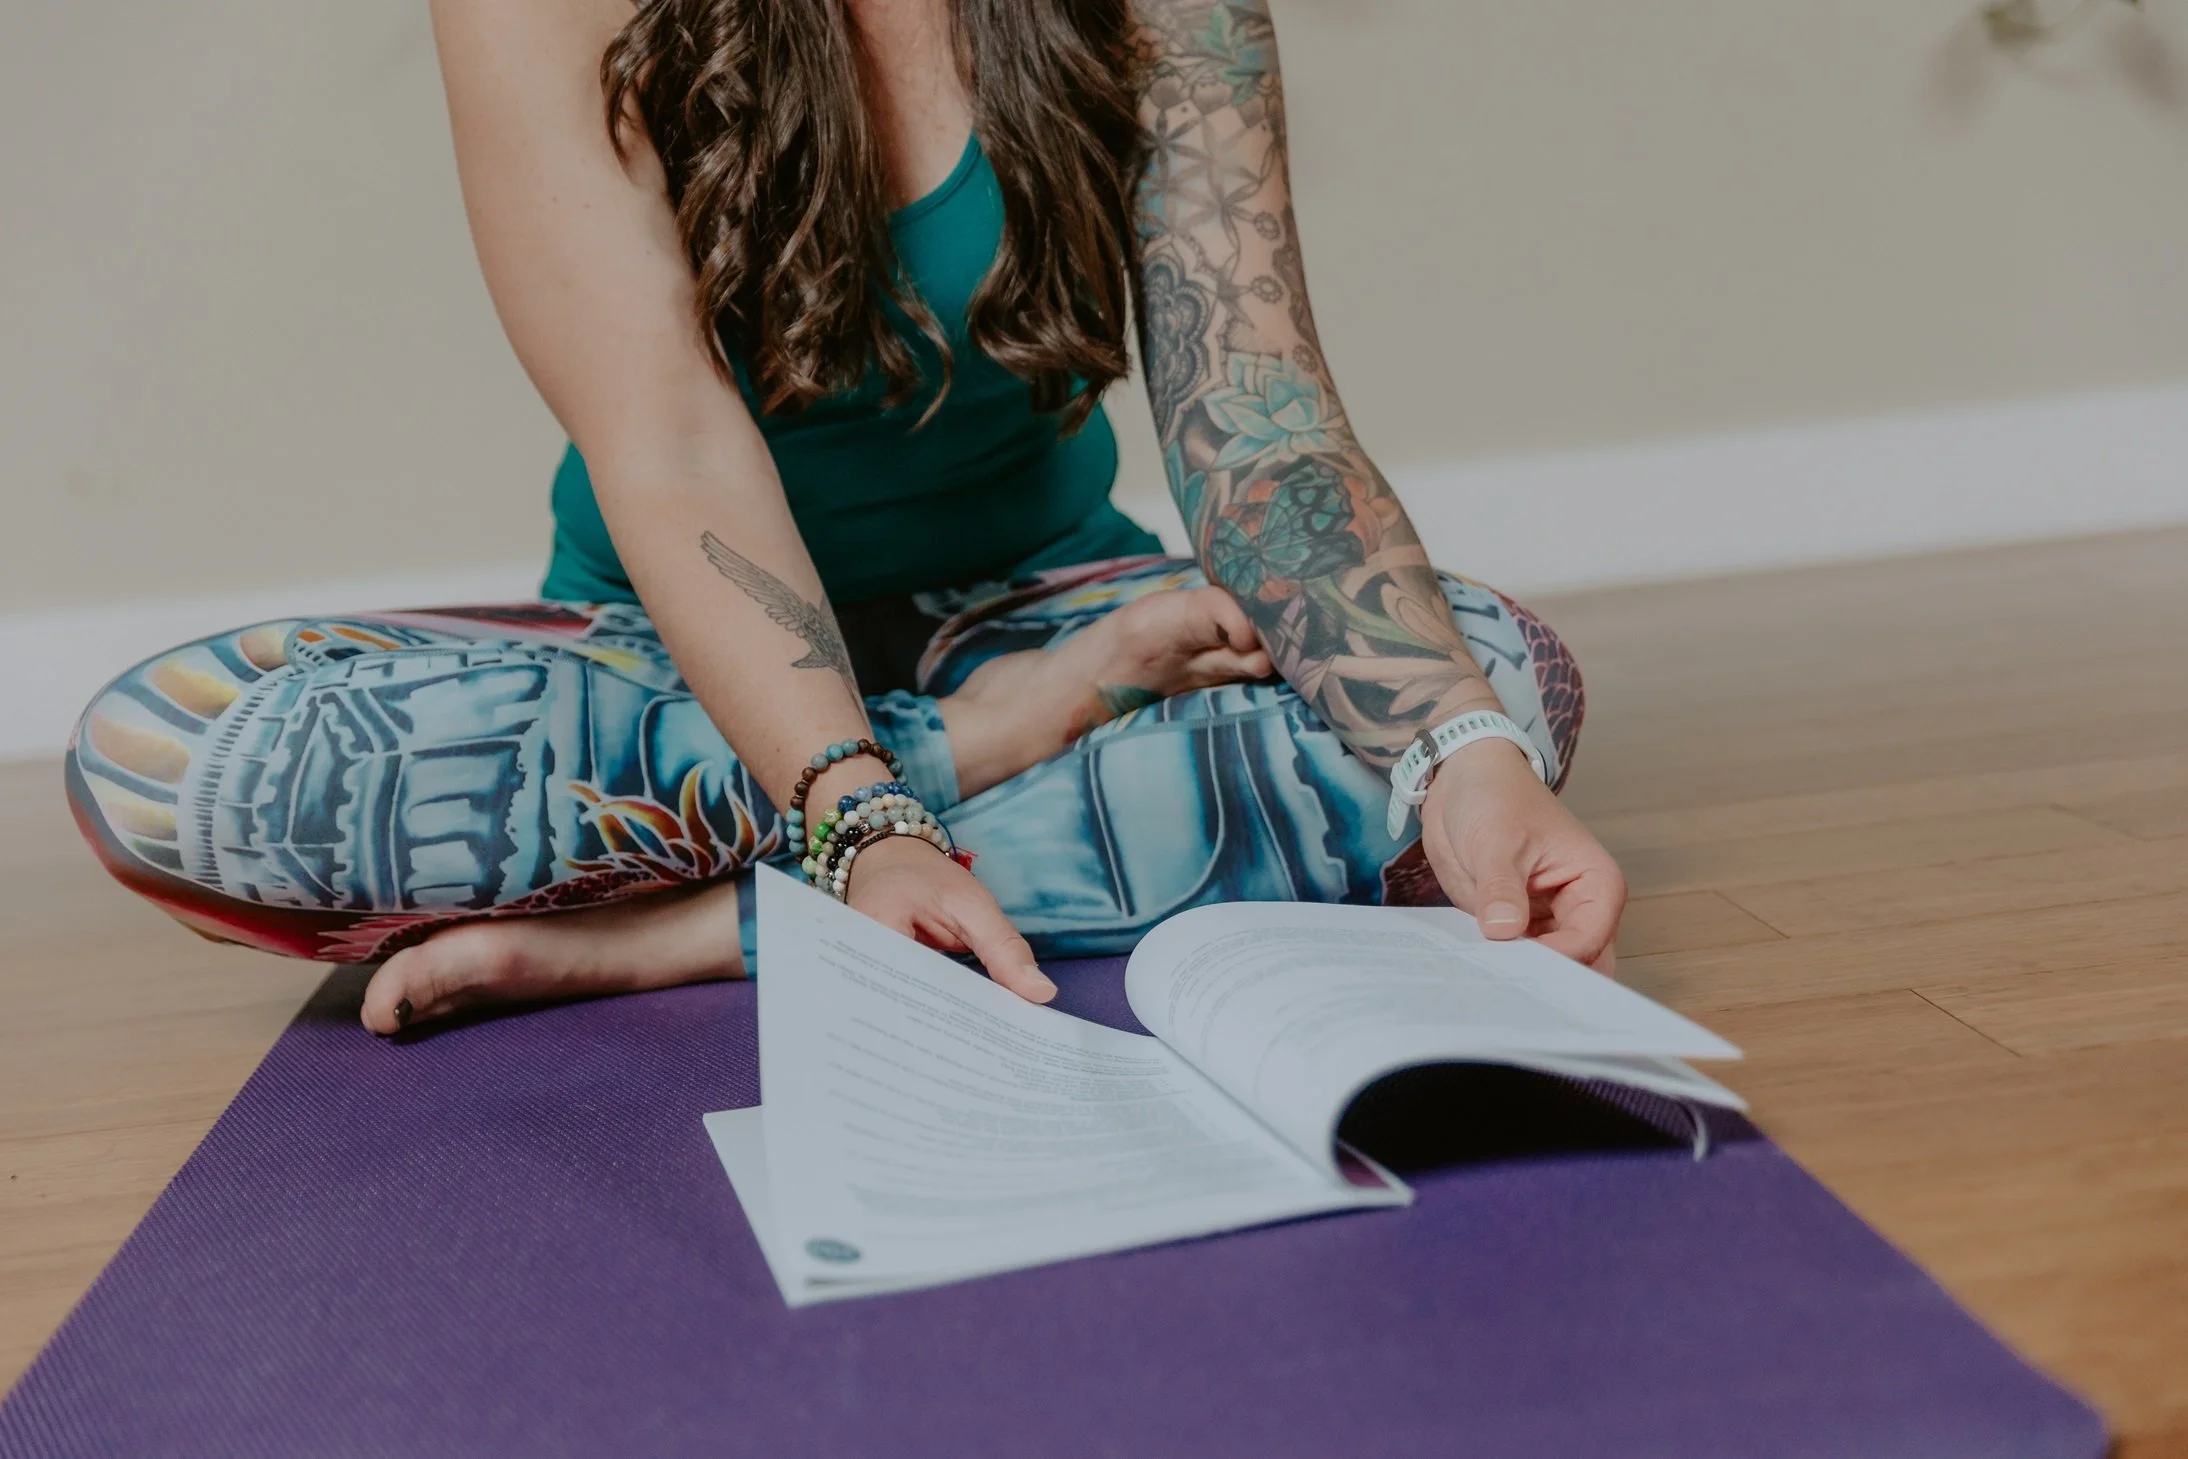
A yoga teaching script is a tool for new yoga teachers as they build confidence.

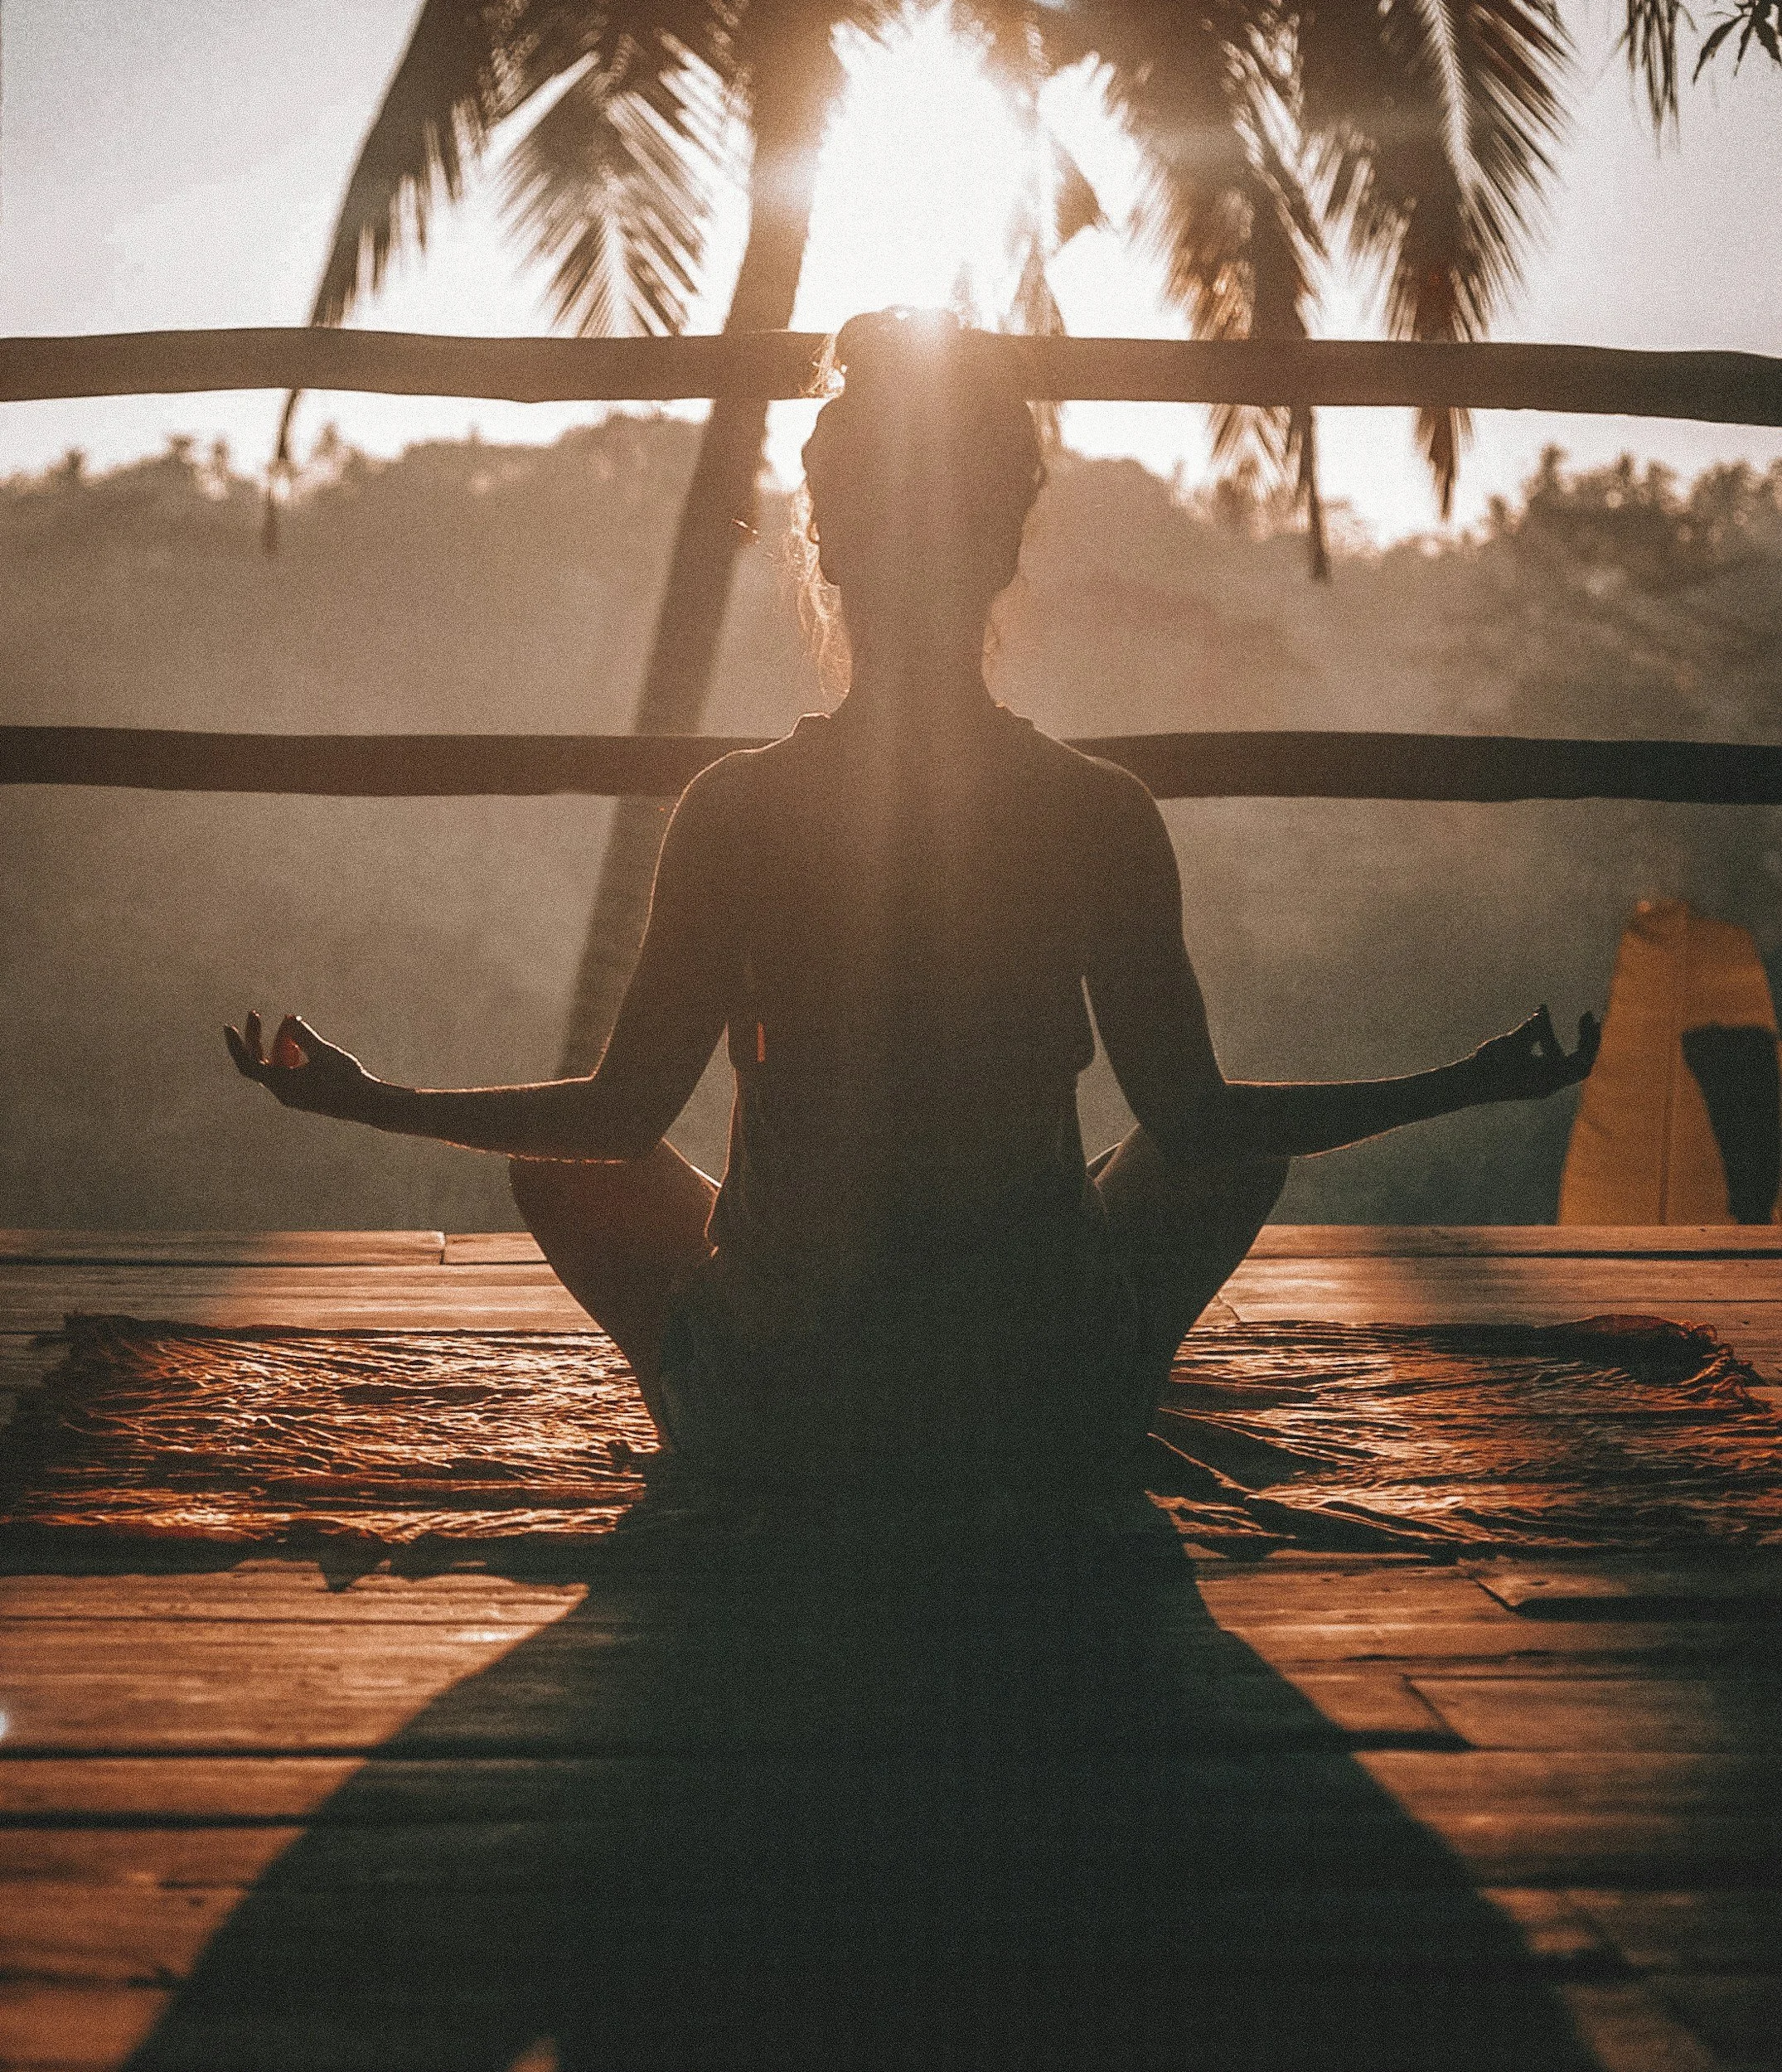
Have you ever thought about creating a sacred space at home where you can practice yoga or meditate?
I’ve always had the goal of clearing a spot where I can do my home practice.
No matter if your home is spacious or small, creating an at-home yoga space is a great thing to do. I’ve even seen beautiful little backyard areas and corners in the garage transformed into custom, calm ‘studios!’
Here are some tips from Dane O’Leary at the Modernize.net team about how to create a yoga space at home.

How to Create a Yoga Space at Home
Not only is yoga helpful in becoming physically healthy, but it's also great for your soul.
Many people invest in gym memberships and expensive classes in order to master the art of yoga under the impression that having a yoga studio at home is too expensive or requires too much space to be realistic. However, just about anyone can have a yoga studio at home. Here’s how you can create a home yoga studio where you can balance body, mind and spirit.
Less is More
When it comes to a yoga studio, you don’t need much in the way of furniture and décor. In fact, most experts and yoga instructors will tell you that less is more. In your minimalist yoga studio, the most essential thing is just to have the space to practice.
Serene Seclusion
Ideally, your at-home studio space will have a door you can close, so that you separate yourself from the rest of your home (and any kids or pets that want to join you!).
However, not everyone has the space available to designate a room for just yoga. A home office or spare bedroom — rooms that aren’t frequently occupied or are only occupied by you — are great for doubling as an at-home yoga studio.
The Space
To inspire serenity and tranquility, your yoga studio should feature calm, muted cool colors and warm cream colors. The color palette shouldn’t draw attention, but rather recede into the background. Lighting is also important. Installing a dimmer so that you have full control of your studio’s light would be optimal. Lamps with a three-way switch also give you more control over the amount of light.
Intention
Accessorize your yoga studio with things that will remind you of yoga and of your intent to improve your body and mind. Candles create a calming, serene environment and come in a variety of calming fragrances such as lavender, lemon, and jasmine. It might be a good idea to invest in a sound machine or an iPod dock you can use to play calming music. Potted plants are also soothing and therapeutic, lending themselves to the mood of your sanctuary.
Flea markets and yard sales are great places to find other treasures for your yoga studio. A trunk would be useful for storing your yoga supplies and a bookshelf or wall shelves would house candles, books, and inspirational items. You might consider hanging some posters, pictures, or artwork on the walls, but make sure they embody tranquility; things like ocean and beach scenes, Impressionist and abstract art are great for an at-home yoga studio.
Finish on the Floor
Professionals say that the floor of your yoga studio is perhaps the most important feature of your at-home yoga studio. Most recommend hardwood floors since they don’t get as cold as tile and other types of floors, they give a little while you move while being firm enough for support, and they won’t hurt your knees. Carpets are too soft and are poor for stability, but would be a good second choice.
Every yoga enthusiast needs a good yoga mat, perhaps more than one if you plan to ever have companions join you in your yoga studio. Large pillows and cushions also make for great floor seating as well.
Head to Modernize.com for more home ideas and inspiration.
Thanks, Dane, for these awesome ideas!

Photos via Unsplash.
PS How to create a space for hot yoga at home.
Moving towards your edge in a yoga practice.
Read MoreAre you learning to teach a Vinyasa flow yoga class? Here are some tips for memorizing the sequence of poses, and tips for getting a rhythm down when you teach.
Read MoreReflections on how to let go through developing your yoga practice.
Read More
The edge is where we come right up against ourselves and what we can do and be.
It is the boundary between where we are and where we grow, the place of comfortable discomfort, where all growing and healing happens.
The edge is the point in every pose when you are still within your capacities but are challenging yourself to go just a little bit farther. Stepping up to this edge and daring to leap is how you break through and thus break with old ways of being.
- Baron Baptiste, Journey Into Power

Last night I practiced falling in love with my yoga practice. The path there was simple: finding my edge, over and over. There was something electric about the work I did on the mat. I felt the energy present between my hands in samasthiti as we chanted om gam ganapataye namaha, my heart filling up. I could feel myself connect with the other yogis in the room, with the teacher, with a collective oneness in that first om.
Even during the warm up postures –core work while lying on my back, and a few rounds of cat/cow—I kept asking myself,
Where is my edge? What does it feel like to be gentle in the process of finding that place where I am reaching for something more?
Flowing through sun salutations allowed me to move deeper. Each repetition felt like an awakening, a compassionate unfolding, an expression of my Self in the moment.
When a pose became hard, I focused more on my breath. Instead of backing away, I allowed myself to feel into the sensations – the physical burn of muscles working, the emotional release of surrendering to the moment, the cognitive clarity of becoming wholly focused on only the breath.
Something clicked. I held side crow on each side for 5 breaths. I rose into bird of paradise fluidly, feeling ease and space in the posture. Headstand was a relief, a breakthrough into peace, simply a chance to breathe. During the third round of wheel pose, I straightened my elbows and knees. And when the teacher told us to come down, I still wanted more.
As I settled into savasana, I could feel energy moving up and down my spine with each inhale and exhale.
Sushumna Nadi, the center channel.
I could feel new space, new light.
I pushed through my edge last night. I trusted the words of my teacher, not resisting any moment or any pose. At the moments when I wanted to give up or allow myself to fall out, I stayed. I breathed deeper. I felt the heat in my body, the feelings of curiosity and elation. I noticed the thoughts coming and going, not attaching myself to them; instead, I stayed present in the body.
Today as you practice, I challenge you to challenge yourself. What are you holding back? What more can you give? What more can you soften?
At the moments when you want to give up, stay. Give yourself the gift of finding your edge.

Discover the transformative power of yoga core power exercises in building physical strength and mental resilience. This guide explores how core-focused practices improve posture, balance, and emotional well-being, empowering you to unlock your inner strength.
An incredible yoga and kayaking retreat happening in October.
Join me for a donation-based yoga practice on Wednesday nights (taught on Zoom).
A post all about the Earth Goddess Retreat in the Santa Monica mountains, a rejuvenating women’s retreat featuring yoga, nourishing cuisine, and a sacred connection to your inner spirit.
Exciting news! I’m offering a cozy, relaxing online yoga series on Monday nights in May 2024.
I visited a new yoga studio I’d never been to. Here’s how it went…
Inspiration for your headstand and inversion practice in yoga.
Read MoreHeadstand progress report, and how to find stillness in your next inversion pose.
Read More
Are you new to yoga and unsure where to start in the expansive, wild world of yoga DVDs?
I'll admit: between Barnes and Noble, Amazon and all of the teacher blogs and websites out there, it's hard to know who's at-home practice routine is worth trying.
This post is for all of you yogis who want to keep your practice going at home, but don't know which DVDs are worthy of your time. This list includes all of the ones I'm a fan of, plus a few I've never tried but which look amazing. Hope it brings you many great hours at home on your mat!
Kundalini Yoga to Detox and Destress with Maya Fiennes
Rodney Yee: Yoga Burn
Seane Corn: Detox Flow Yoga or Vinyasa Flow
Morning Kundalini with Tommy Rosen via Gaiam TV
Fit Body Yoga with Gwen Lawrence via Gaiam TV
AM/PM Yoga for Beginners with Barbara Benagh
Core Strength Vinyasa Yoga Total Body Transformation (which I recently reviewed in detail)
As far as online resources/ subscription services go, I highly recommend GaiamTV.com. I want to try Yogis Anonymous out sometime soon too. Any of you ever used it?
Here are three other DVDs on my must-try list:
Power Flow Yoga with Shiva Rea
Budokon with Jason Olive
Yin Yoga with Paul Grilley
Which yoga DVDs are your favorite? Please share your recommendations in the comments below. Happy living room yoga-ing! :)
Alive in the Fire is a blog inspired by practicing yoga mindfully, teaching from the heart, giving hugs, and living a badass life.
Alive in the Fire is a blog inspired by practicing yoga mindfully, teaching from the heart, giving hugs, and living a badass life.

work with me

Sponsored Yogis
Donations help keep the programs and yoga classes at Alive in the Fire available to those in need. Your generosity is greatly appreciated!

Copyright 2017. All rights reserved - Alive in the Fire. Design by Hello Big Idea.


Reflections on dipping in 30-something-degree water.